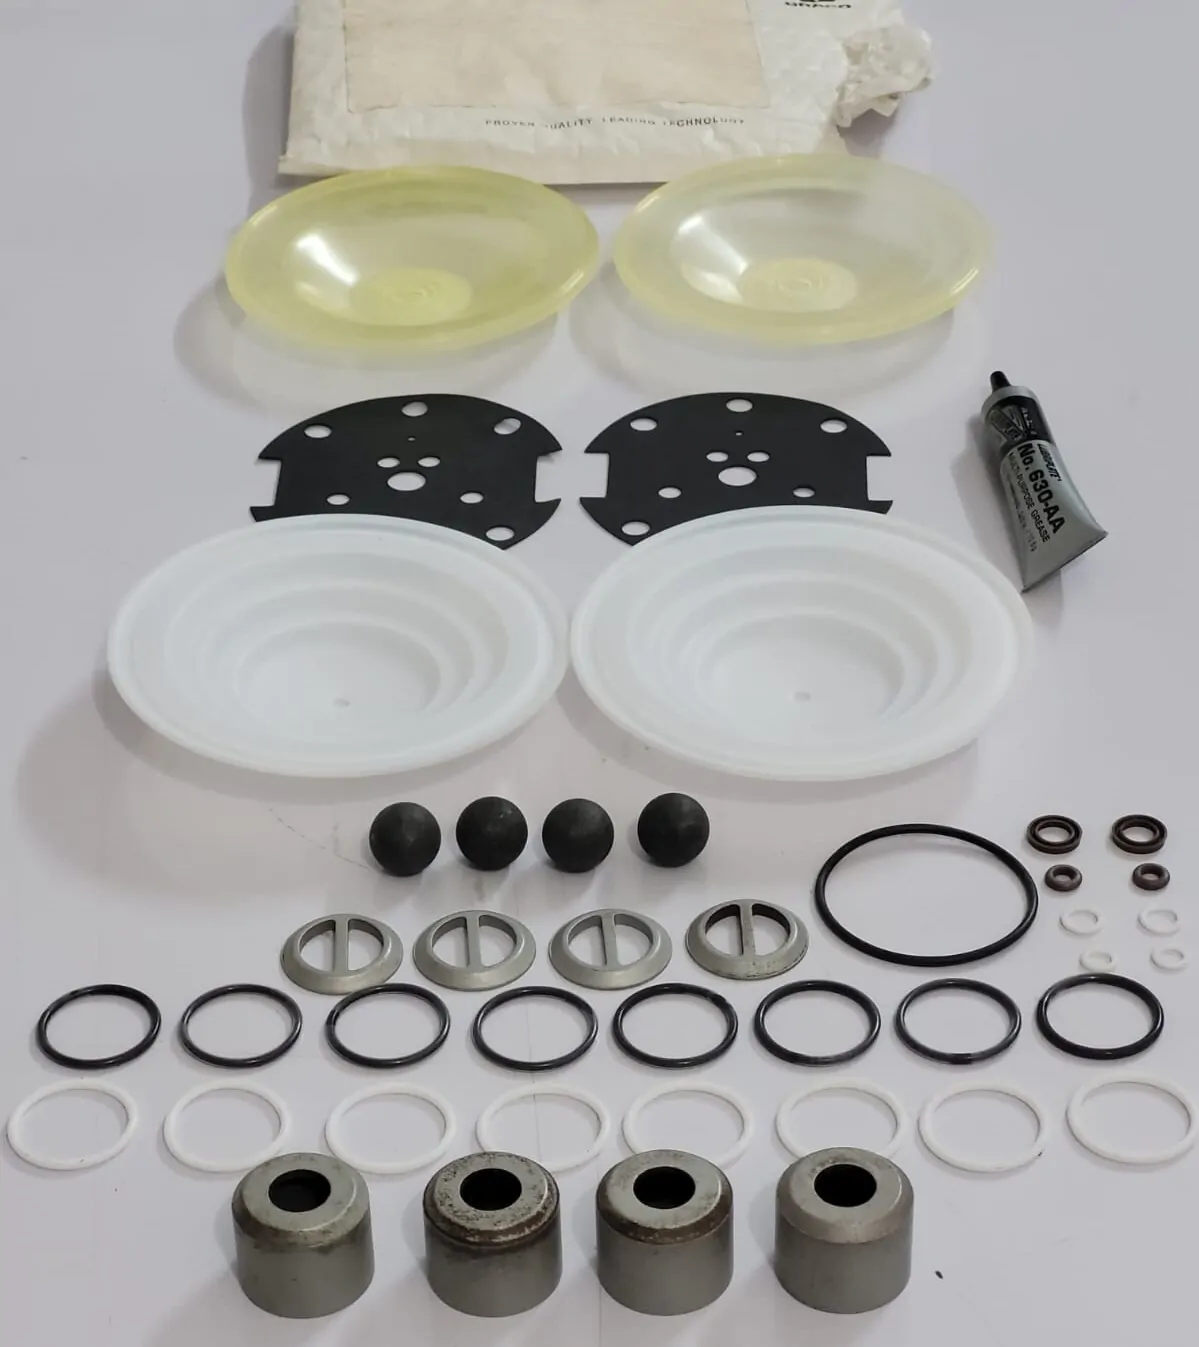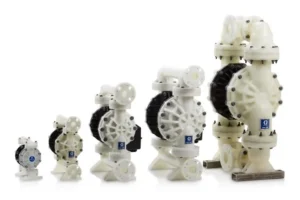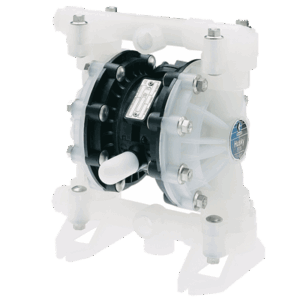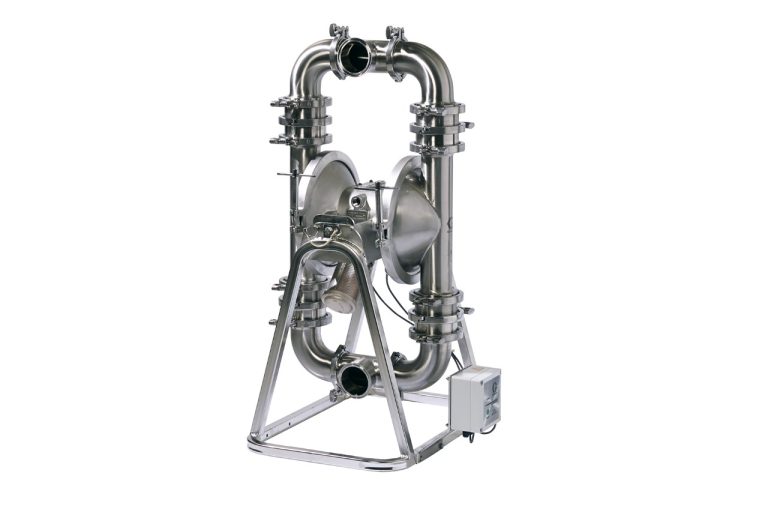


Change the repair kit bomba of diaphragm is crucial to maintain its efficient operation. Signs such as leaks, abnormal noises and degraded performance indicate the need for replacement. Follow the manufacturer's instructions and take appropriate care during the process to ensure safety and effectiveness.
You know when to change diaphragm pump repair kit? Knowing the right moment is vital to guarantee the durability and efficiency of this equipment. In this article, we will explain how to identify the signs that indicate the need for replacement and how to carry out the procedure correctly. With practical and detailed tips, you will avoid problems and ensure that your pump works perfectly for much longer!
When to identify diaphragm pump problems
Identifying diaphragm pump problems is crucial to ensuring its proper functioning. There are some signs that may indicate that the pump is experiencing difficulties. Pay attention to these symptoms:
Visible Leaks
One of the first signs that something is not right is the presence of leaks. If you notice fluids around the pump, it may indicate that the repair kit is damaged and needs to be replaced.
Abnormal Noises
Strange noises, such as knocking or buzzing, may be an indication that there are loose or worn parts. These sounds should not be ignored as they can lead to major failures if not dealt with quickly.
Irregular Performance
If the pump is not delivering the expected pressure or flow, this could be a sign that the repair kit needs to be replaced. Monitor pump performance and compare to manufacturer specifications.
Overheating
A pump overheating could be a sign that there is an internal problem. If the pump is hot to the touch, this may indicate that the repair kit is not working properly, causing excessive friction.
Signs that the repair kit needs to be changed
Recognize the signs that the repair kit needs to be changed It is essential to maintain diaphragm pump efficiency. Here are some indicators you should watch out for:
Degraded Performance
If the pump is not operating as efficiently as before, this could be a sign that the repair kit is worn out. A drop in pressure or output flow is a clear indication.
Persistent Leaks
Continuing leaks, even after repair attempts, are a sign that the repair kit is no longer sealing properly. This can cause loss of efficiency and increase energy consumption.
Thunderous Noises
Loud or unusual noises during pump operation may indicate that the repair kit is compromised. These sounds can be caused by parts that are no longer working in harmony.
Excessive Operating Time
If the pump is running for prolonged periods unnecessarily, this could be a sign that the repair kit is not maintaining adequate pressure, forcing the pump to work harder than necessary.
Step by step to change the repair kit
Changing the diaphragm pump repair kit is a process that can be carried out with care and attention. Here is one step by step to change the repair kit:
1. Turn off the Pump
Before starting any procedure, it is essential to turn off the pump and disconnect the power source. This ensures safety when changing the repair kit.
2. Remove the Pump Cover
Use the appropriate tools to remove the pump cover. Be sure to store the screws in a safe place to make reassembly easier.
3. Remove the Old Repair Kit
Carefully remove the old repair kit. Check for damaged or worn parts that need to be replaced. Clean the area before installing the new kit.
4. Install New Repair Kit
Put the new repair kit in place. Follow the manufacturer's instructions to ensure all parts are correctly positioned and sealed.
5. Replace the Cap and Test the Pump
After installation, replace the pump cover and tighten the screws. Turn the pump back on and test its operation to ensure everything is operating correctly.
Cautions when changing the pump repair kit
When changing the diaphragm pump repair kit, it is important to take a few essential care to ensure the process is carried out safely and effectively. Here are some tips:
1. Use Protective Equipment
Before starting the change, put on protective equipment, such as gloves and safety glasses. This helps prevent accidents and protects your hands and eyes from possible chemicals.
2. Follow the Manufacturer's Instructions
Each pump may have different specifications. Always consult the manufacturer's manual to follow the correct instructions when changing the repair kit.
3. Check for New Parts
Before installing the new repair kit, check that all parts are present and in good condition. Any damaged or missing part may compromise the pump’s operation.
4. Keep the Desktop Clean
An organized and clean work area is essential. Remove any dirt or debris that may interfere with installation of the new repair kit.
5. Test the Pump After Replacement
After installing the new kit, turn on the pump and test it. Check for leaks and that the pump is working properly before putting it into full operation.
Conclusion on Replacing Diaphragm Pump Repair Kit
Changing the diaphragm pump repair kit is an important task to ensure the proper functioning of the equipment. By following the correct steps and taking appropriate care, you can avoid future problems and extend the life of your pump.
Identifying signs of wear, carrying out the replacement at the right time and following the manufacturer's instructions are fundamental to the success of the process. With attention and care, you can keep your pump operating efficiently and safely.
Don't underestimate the importance of regular maintenance and changing the repair kit, as this can make all the difference to the performance of your equipment.
FAQ – Diaphragm Pump Repair Kit Replacing Frequently Asked Questions
When should I change my diaphragm pump repair kit?
The repair kit should be changed when you notice signs of wear, such as leaks, abnormal noises, or irregular pump performance.
What precautions should I take when changing the repair kit?
It is important to wear protective equipment, follow the manufacturer's instructions, and keep the work area clean during the change.
How can I identify diaphragm pump problems?
Signs such as visible leaks, rumbling noises and degraded performance are indicative that the pump may be in trouble.
What is the process for changing the repair kit?
The process involves turning off the pump, removing the cover, removing the old kit, installing the new one and testing the pump after replacement.
What to do if the pump continues to have problems after changing the kit?
If the pump still has problems, it may be necessary to consult a specialized technician for a more detailed evaluation.
Can I change the repair kit myself?
Yes, as long as you follow the manufacturer's instructions and have the appropriate tools, the replacement can be done on your own.