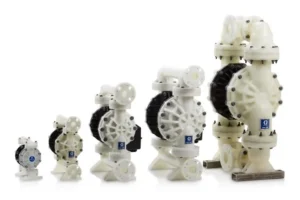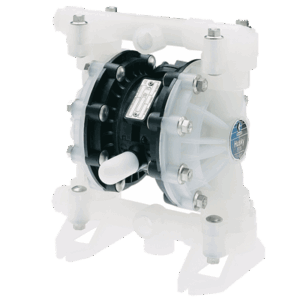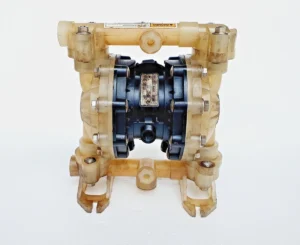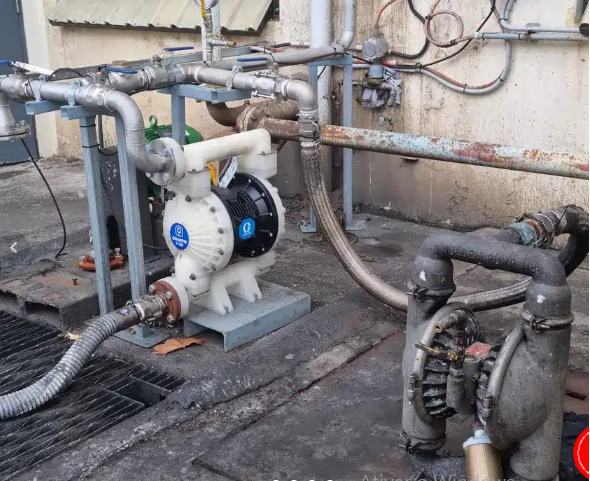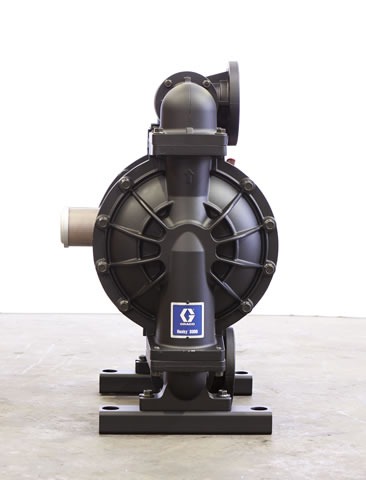


The dismantling of the bomba Graco Husky is crucial for efficient maintenance. Following proper steps, using correct tools, and performing post-disassembly inspections ensure safe operation and extend the life of the equipment.
**Graco Husky pump disassembly** is a vital process to ensure the efficient and safe operation of this equipment. Technicians and professionals in the field need to understand the correct techniques and tools involved to perform this task with excellence. In this article, we will detail the essential precautions and practical guidelines to carry out disassembly safely and effectively, avoiding errors that could compromise the pump's operation.
Why is disassembly crucial?
Disassembling the Graco Husky pump is an essential procedure to ensure proper maintenance and longevity of the equipment. When carried out correctly, disassembly allows the identification of wear and failures that could compromise the pump's performance.
Problem Identification
During disassembly, technicians can inspect internal components, such as diaphragms and valves, which are critical to the pump's operation. This inspection helps detect problems before they become serious, avoiding unexpected production stops.
Cleaning and Maintenance
Disassembly also makes it possible to thoroughly clean the internal parts of the pump. Residues and contaminants can accumulate over time, affecting equipment efficiency. Proper cleaning during disassembly can significantly improve pump performance.
Replacement of parts
With disassembly, worn or damaged parts can be replaced. This not only restores the pump's functionality, but can also increase its energy efficiency, resulting in long-term cost savings.
Training and Security
Performing disassembly properly is also an opportunity to train staff in safe and efficient practices. The knowledge gained during this process is valuable for the overall operation and maintenance of the equipment.
Therefore, disassembly should not be viewed simply as a maintenance task, but as a crucial part of the asset management strategy, ensuring that your Graco Husky pump operates at its maximum potential.
Tools required for disassembly
To disassemble the Graco Husky pump efficiently, it is essential to have the appropriate tools at your disposal. Using the correct tools not only makes the process easier, but also ensures technician safety and equipment integrity.
Screwdrivers and Allen Keys
Screwdrivers and Allen wrenches are essential for removing screws and fasteners that hold the pump together. It is important to have a varied set of sizes to suit different types of screws.
Open End Wrenches and Adjustable Wrenches
Open-end wrenches are useful for loosening larger nuts and bolts, while adjustable wrenches allow for quick and easy adjustment to different size fasteners. Both are essential during disassembly.
Measurement Tools
Measuring tools such as calipers and micrometers are important for checking part dimensions and ensuring replacements are accurate. This helps prevent future assembly issues.
Personal Protective Equipment (PPE)
In addition to tools, the use of Personal Protective Equipment (PPE) is crucial. Gloves, protective glasses and aprons help protect the technician from possible accidents during disassembly.
Part Organizers
Using part organizers, such as trays or boxes, makes it easier to separate and identify components during disassembly. This prevents the loss of parts and makes the reassembly process more efficient.
Graco Husky pump disassembly step by step
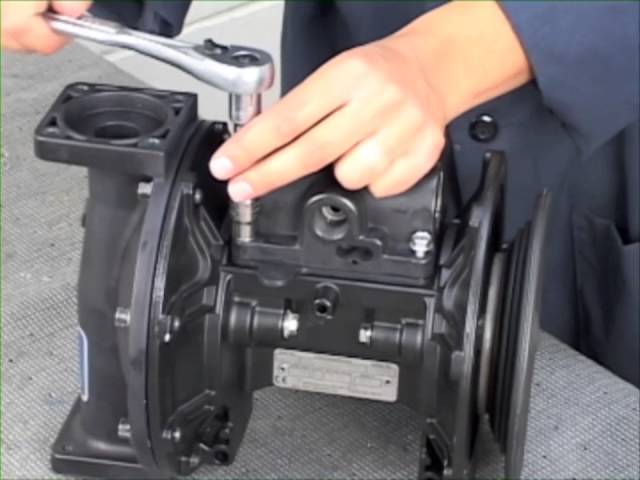
The Graco Husky pump disassembly process must be carried out with care and attention to detail. Below, we present a step-by-step guide that guides technicians in carrying out this task safely and efficiently.
Step 1: Preparing the Environment
Before starting disassembly, it is important to prepare the work environment. Make sure the area is clean and organized, with all necessary tools on hand. Disconnect the pump from the power source and drain any residual fluid.
Step 2: Removing External Components
Start by removing external components such as hoses and fittings. Use the appropriate tools to loosen the fasteners without damaging the parts. Place removed components in organizers to facilitate reassembly.
Step 3: Access to the Pump Interior
After removing the external components, remove the pump cover. This may require the use of screwdrivers or Allen wrenches, depending on the model. Be careful not to damage the seals during this step.
Step 4: Inspection of Internal Components
With the pump open, inspect internal components such as diaphragms and valves. Check for signs of wear or damage. Note any parts that need to be replaced and clean accessible parts.
Step 5: Assembly and Testing
After disassembly and inspection, begin the assembly process in reverse order. Make sure all parts are correctly positioned and secured. After assembly, test the pump to ensure it is working properly before putting it back into operation.
Tips to avoid damage during disassembly
When disassembling your Graco Husky pump, it is crucial to take precautions to avoid damage to both the equipment and yourself. Here are some practical tips to ensure a safe and efficient process.
1. Use the Right Tools
Be sure to use the appropriate tools for each type of fixture. Using inappropriate tools can damage pump screws or parts, resulting in additional costs and delays.
2. Work in an Organized Environment
Keeping the work area clean and organized helps prevent accidents. Have all components and tools on hand, and avoid leaving loose parts that could be lost or cause damage.
3. Follow the Manufacturer's Manual
The manufacturer's manual contains specific instructions on disassembling and assembling the pump. Following these guidelines helps you avoid mistakes that could lead to permanent damage.
4. Perform Disassembly Carefully
When removing parts, do so slowly and carefully. Avoid applying excessive force as this may cause breakage or deformation. If a part is stuck, check for screws or fasteners that have not been removed.
5. Use Personal Protective Equipment (PPE)
Using PPE, such as gloves and protective glasses, is essential to ensure your safety during disassembly. This protects against cuts, scrapes and other accidents that may occur during the process.
Post-disassembly maintenance and recommendations
Graco Husky pump post-disassembly maintenance is a crucial step to ensure the equipment operates efficiently and safely after reassembly. Here are some important recommendations to follow.
1. Complete Inspection
After disassembly, it is essential to carry out a complete inspection of all parts. Check for signs of wear, cracks or damage. This helps identify components that need to be replaced before reassembly.
2. Cleaning the Parts
Clean all pump parts with suitable products. Removing residue and contaminants is essential to avoid malfunctions. Use appropriate solvents and soft brushes to avoid damaging the surfaces.
3. Lubrication
Before reassembling the pump, apply lubricant to moving parts such as valves and diaphragms. Proper lubrication reduces friction and improves pump efficiency, extending its useful life.
4. Seal Check
Seals are critical components that guarantee the tightness of the pump. Check that they are in good condition and replace them if necessary. Damaged seals can cause leaks and compromise pump performance.
5. Functional Tests
After reassembly, perform function tests to ensure that the pump operates correctly. Check that there are no leaks and that all components are functioning as expected. This is essential to avoid failures during operation.
Conclusion on Graco Husky Pump Disassembly
Disassembling the Graco Husky pump is an essential process to ensure its maintenance and efficiency. Following the correct steps and using the appropriate tools helps prevent damage and extends the life of your equipment.
Additionally, post-disassembly maintenance, which includes inspection, cleaning and lubrication, is crucial for the pump to function properly. Performing function tests after reassembly ensures that everything is operating as it should.
With these practices, you can ensure that your Graco Husky pump continues to deliver reliable, efficient performance in your operations.
FAQ – Graco Husky Pump Disassembly Frequently Asked Questions
Why is Graco Husky pump disassembly important?
Disassembly is important to perform maintenance, identify problems, and ensure the pump operates efficiently and safely.
What tools are needed for disassembly?
Tools such as screwdrivers, Allen wrenches, wrenches and parts organizers are essential for effective disassembly.
How can I avoid damage during disassembly?
Use the correct tools, keep the environment organized and follow the manufacturer's instructions to avoid damage to the equipment.
What should I do after disassembly?
After disassembly, inspect the parts, clean them, apply lubricant and check the seals before reassembling the pump.
What are the signs that the pump needs maintenance?
Signs such as leaks, strange noises and reduced performance indicate that the pump may need maintenance or disassembly.
How can I ensure the pump works properly after reassembly?
Perform function tests after reassembly to verify that there are no leaks and that all components are operating correctly.